Home / How-to videos / Cream foundation
Cream foundation
Amazing hair mask | Balancing cream cleanser | Basic lip balm | Clay masks | Coffee Scrub | CP soapmaking | Cream foundation | Easy melt and pour soap | Eyeshadow | Formulation 101 - Base Cream | Full skincare routine | Hyaluronic acid serum | Hydrating face/body cream | Lipstick | Lotion Bar | Mineral foundation | M&P soap | Muscle rub | Oil Cleanse | Q10 Summer Fruits Serum | Solid conditioner bars | Solid shampoo bars | Two-pot moisturiser | Whipped body butter | Working with Sapogel Q | Nourishing conditioner/hair mask
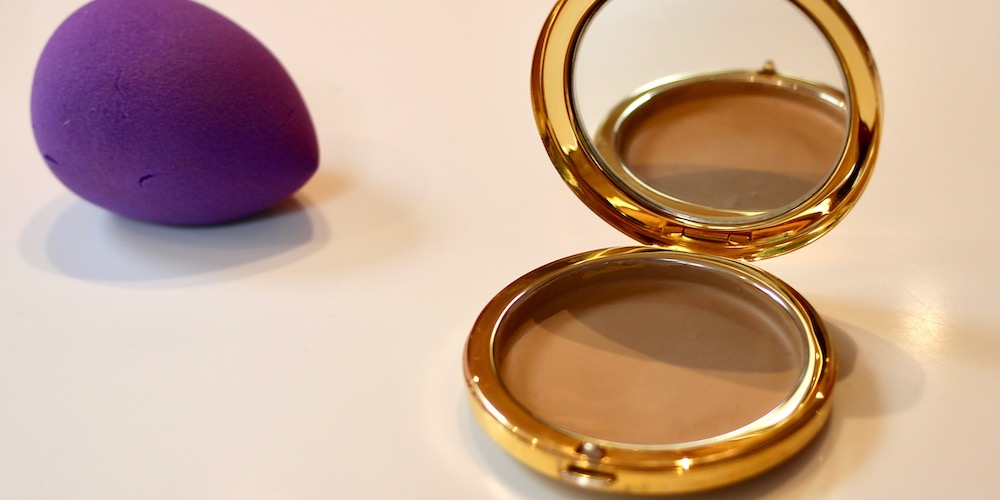
This recipe is inspired my Marie Rayma's (of humblebeeandme.com) second skin cream foundation, which I have been using exclusively for over a year now. We didn't have the exact ingredients that she uses so I have tweaked it to use ingredients we have available. It uses her mineral powder foundation recipe which you will find in her book Make It Up (check out our how to make mineral foundation, and our Mineral Foundation Kit HERE). If you've made this before you'll know how great it is as a powder foundation but if you prefer something creamier, as I do, then this is perfect. It also allows you more freedom for layering. I often just use a tiny bit for everyday wear to even out skin tone and more if I'm going out in the evening.
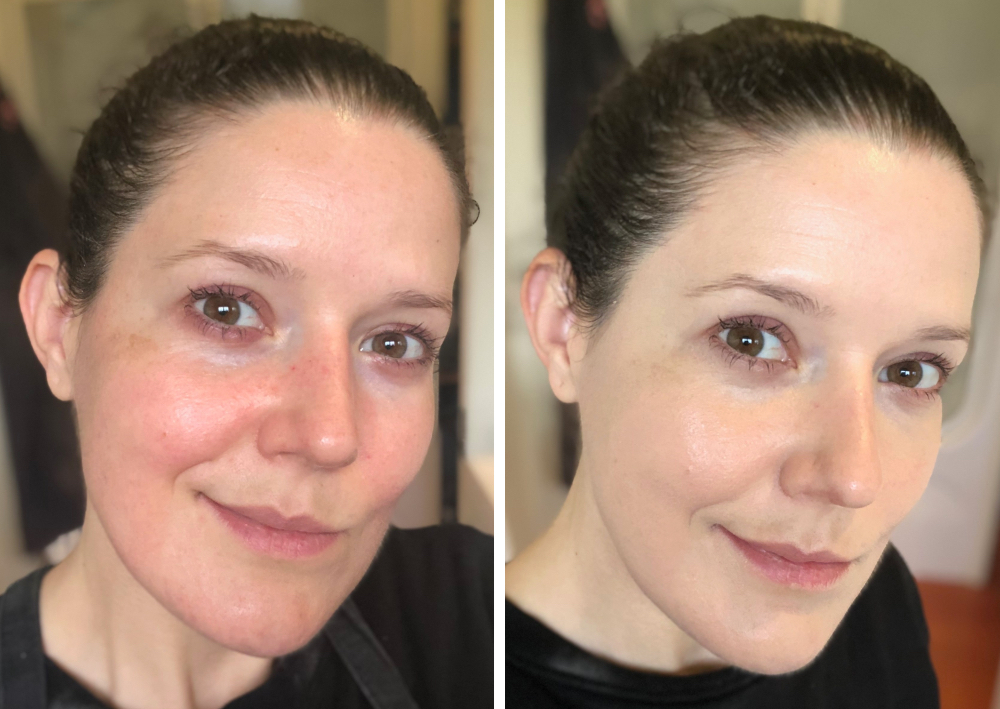
Before (L) and after (R) applying my cream foundation.
I have also used this recipe and replaced the mineral powder foundation with one of Marie's bronzer recipes (at the same 50% ratio) to make a bronzer contour cream which I'm VERY happy with!
Equipment - Check out our Makeup equipment starter pack which includes everything you need including Marie's book Make It Up.
Mini scales - You're going to need very sensitive scales for such small batch sizes and these are super handy for formulating in general.
Mini silicone spatula - This is very useful for smooshing the ingredients together and for scraping everything out.
Glass beaker - These are really handy in general and I like using them in a water bath because of their tall sides, so that water doesn't get it, but you could use a small plastic pot.
Container for final product - A 5ml clear glass pot works really well or else and old makeup compact is great.
Cream foundation recipe
Makes approx 5g - use our Batch Size Calculator and the percentages provided here to easily adjust the volume of your batch.
Heated phase
2.50g | 50% Mineral foundation powder - recipe in Make It Up
0.95g | 18.9% Castor oil
0.60g | 12% Squalane - olive
0.55g | 11% Cococaprylate
0.20g | 4% Carnauba wax
0.15g | 3% Candelilla wax
0.05g | 1% Silica microspheres
Cool down phase
0.005g | 0.1% (1 drop) Vitamin E*
*My scales don't go down this far and the least you can put in is a small drop, so that's fine.
Method
Weigh all of your heated phase into a glass beaker or whatever container you're using.
Place in a water bath, deep enough to cover the sides of the ingredients but not so deep that any water is in danger of splashing inside.
Gently warm until ingredients are entirely melted, occasionally using your spatula to smoosh combine it well.
Once everything is melted take off the heat and quickly add the vitamin E.
This will set quickly so you don't have much time to transfer into your container, so have it ready to go.
You will probably get about half of it in before it sets, then you will have to scrap the rest out with your spatula.
It's very difficult to get a smooth finished surface but you can help by pre-warming your container with a hair dryer and you can blast it with the hair dryer again once it's all in the melt the top.
To apply
You can apply it with fingertips or a foundation brush, whichever you prefer.
Check out our other makeup recipes
 Lipstick |
 Mineral foundation |
 Eyeshadow |
 Luminescence highlighter |
Follow us on Facebook and Instagram for regular news and recipes and subscribe you our YouTube channel for more video tutorials!
