Home / How-to videos / Eyeshadow


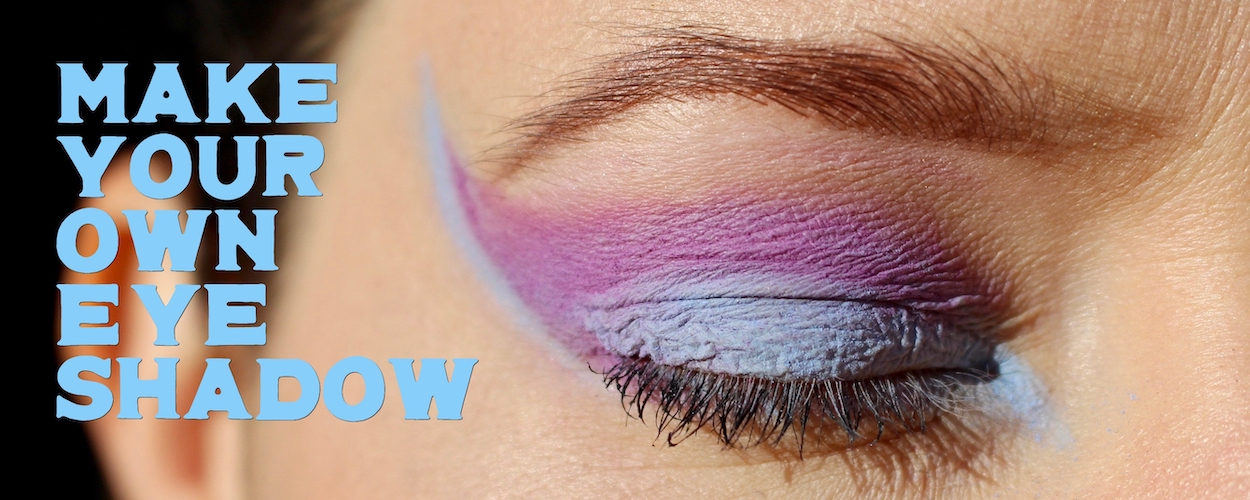
Eye Shadow Base Recipe
(Makes 25g)
4.25g | sericite mica
5g | boron nitride
1.25g | magnesium stearate
0.38g (18 drops) | cococaprylate
0.38g (15 drops) | squalane
0.025 (3 drops) | vitamin E
Method
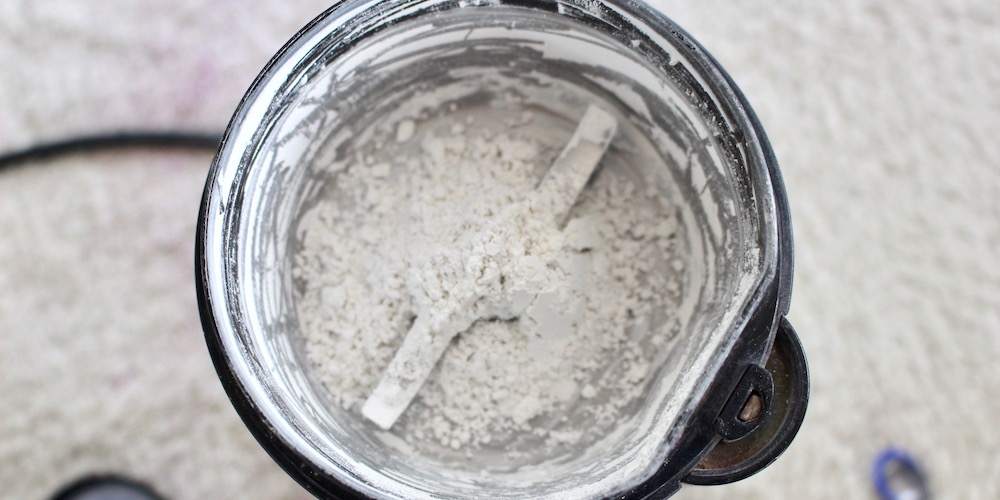
1. Put on your dust mask! Weigh your powders and place them in your grinder.
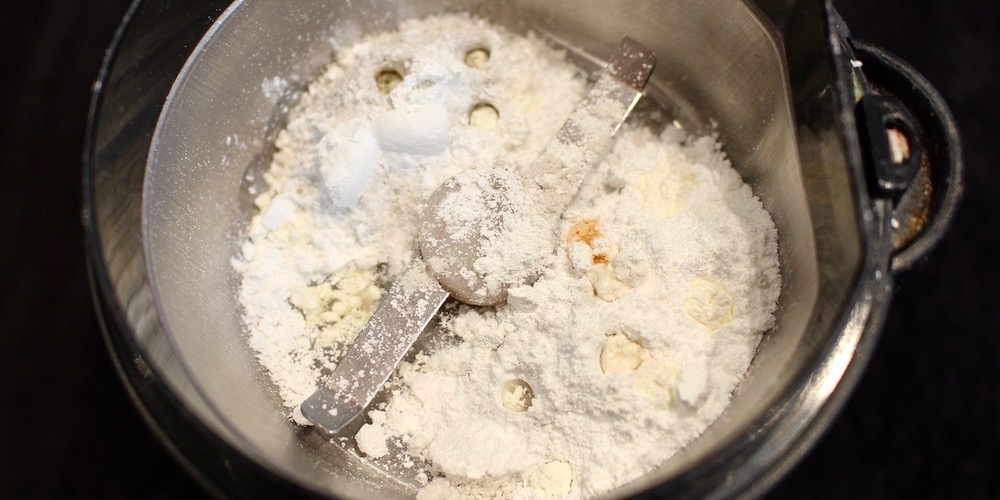
2. Drop your liquid ingredients onto the powders. Spread them out and avoid the sides of the grinder and give the grinder a light shake to cover them with powder before you start mixing, it's hard to incorporate liquids back into the mixture if they end up on the edges. You may even want to do it in stages. Add the first of the liquid, grind, add the next of the liquid, grind, etc.
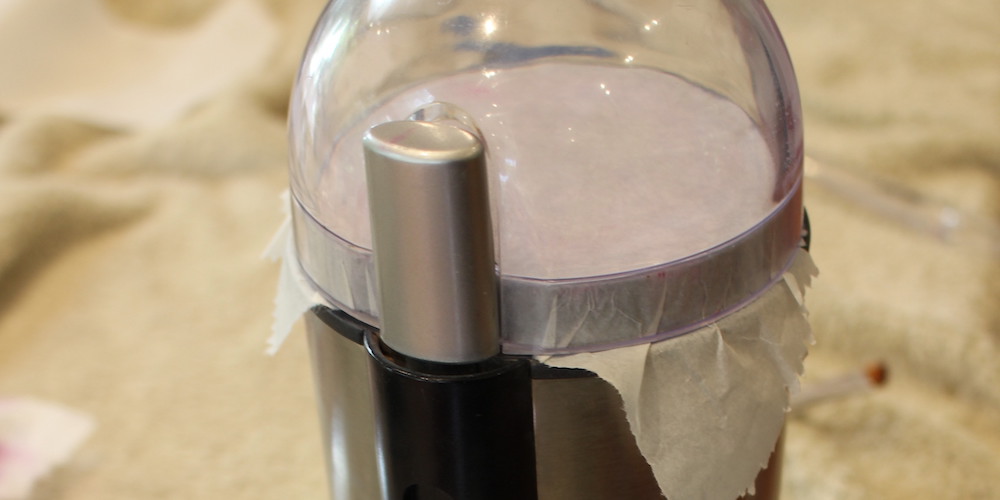
3. When you grind, place a piece of baking paper between the grinder and the lid of the grinder, this contains the mixture and means you don't lose any in the lid. Plus, easier clean up!
4. Before you open the grinder give it a good tap with your knife to get the mixture off the sides. Leave it a minute so that the dust settles. Give it a stir with your knife, make sure to scrape everything off the sides and from under the grinder blades and incorporate. Grind again. Repeat this until everything is well combined.
5. Store your base in a container (mine's in an old, well cleaned, coconut yogurt jar). You've made your base!
Adding colour (aka, the fun part)
This feels like being in art class. Remembering your primary colours and how to mix them. Don't forget you can make any colour with yellow, blue and red. Then lighten or deepen with white/titanium dioxide or black. (Add only the TINIEST bit of black at a time as it's very strong.)
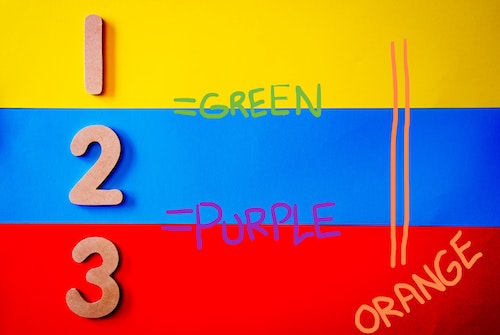
Let's just quickly talk about pigments vs micas.
Pigments are your oxides and lakes, they're very concentrated colour, so you don't need much, and they're what's going to give you your depth of colour. We're going to mix these in with the grinder.
Micas are what will give you your shine and sparkle, and a bit of colour, but we're going to mix these in by hand at the end as putting them in the grinder can, well, grind them up and they can lose some of their shimmer, and we want that shimmer intact!
Take notes! Every spoon you add should be recorded so that you can recreate your ideal shade the next time you make it. Once you know your recipe the whole process is so much faster because you can just plonk it all in and grind away!
LET'S GO!
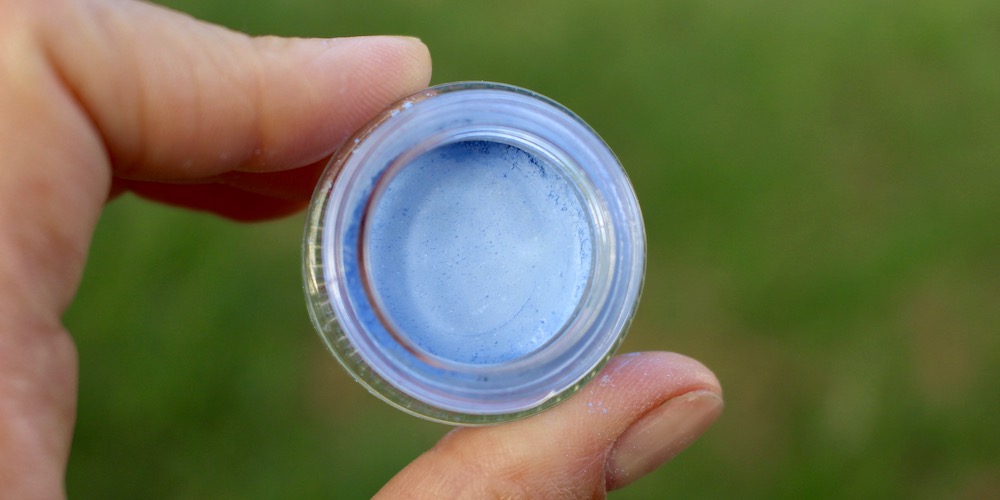
(Photos are from several different making sessions so don't be thrown when the colours change from blue to purple, they represent the correct phase in the process.)
1. Weigh out 2.5g of your base and pop it in your grinder.
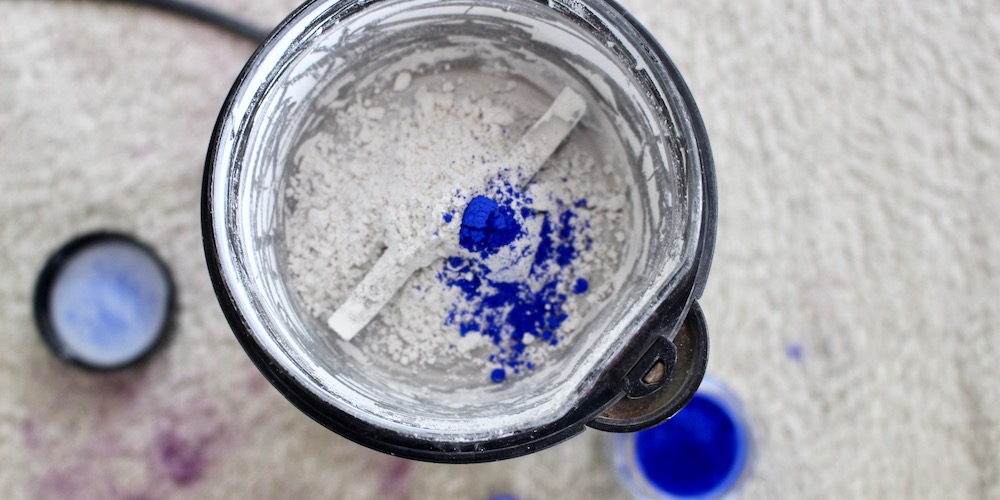
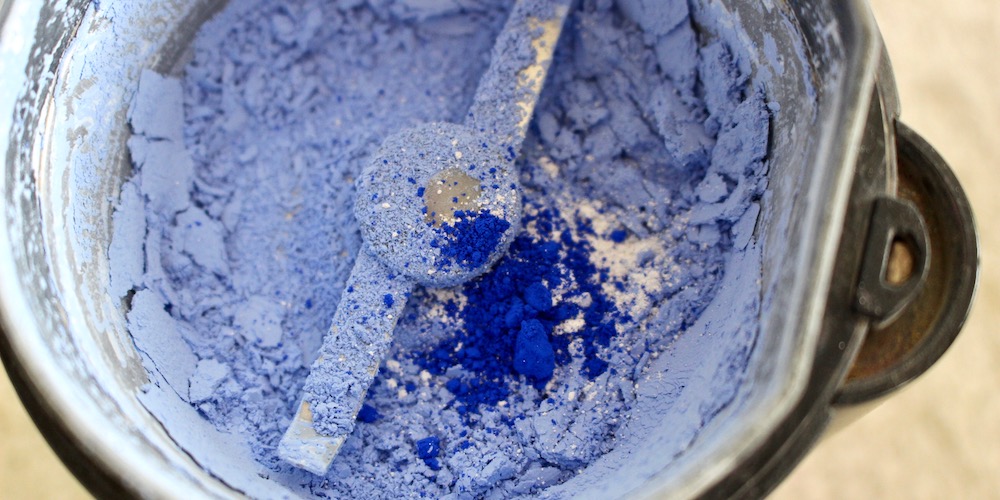
2. Now we're going to add pigments. Use one of my suggested colour combinations below or make up your own. If you're making your own shade choose the colours you want and add them in small amounts at a time, it's easy to build up colour and pretty much impossible to correct if you add too much so just be patient.
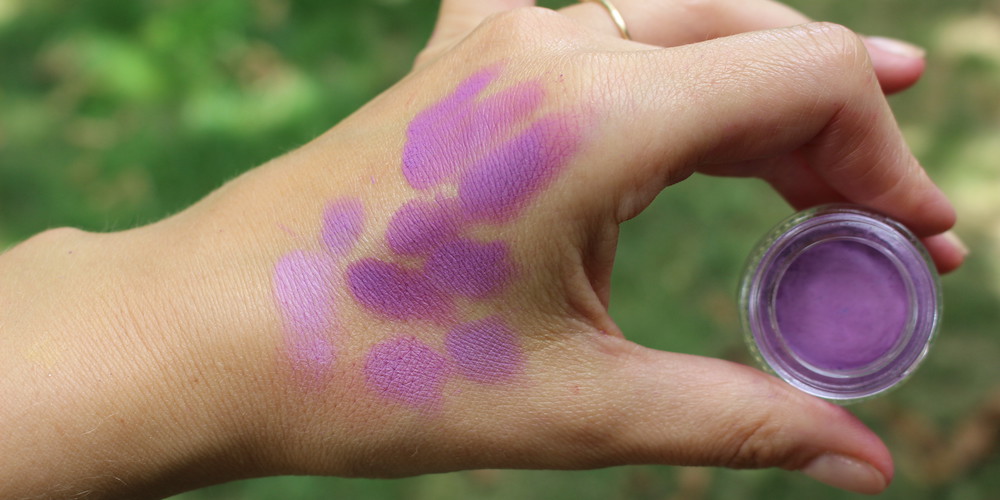
3. Add colour, grind, tap with your knife, wait, stir and repeat. Test the colour on the back of your hand with your eye shadow brush until you're happy with it.
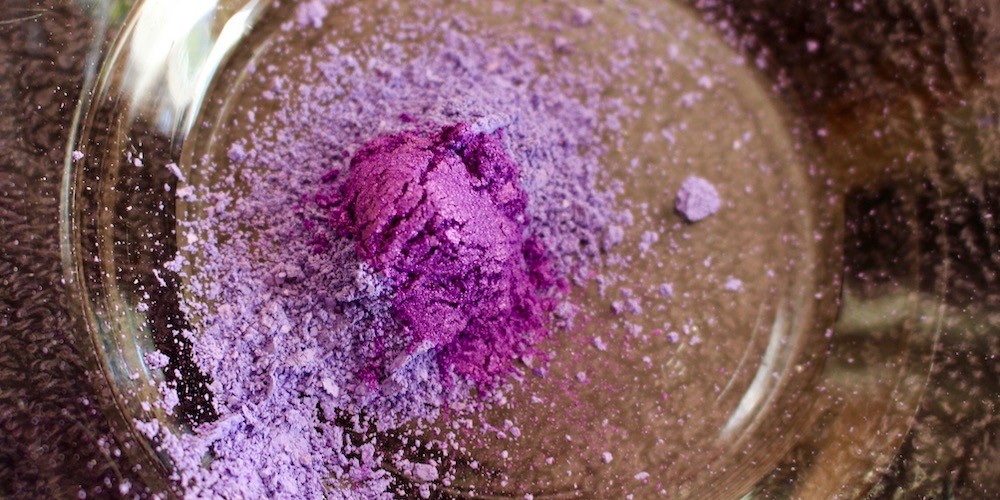
4. Once you're happy with the shade you've reached with pigments place your mixture in a bowl and add your micas. Same deal, add them slowly and build up until you're happy.
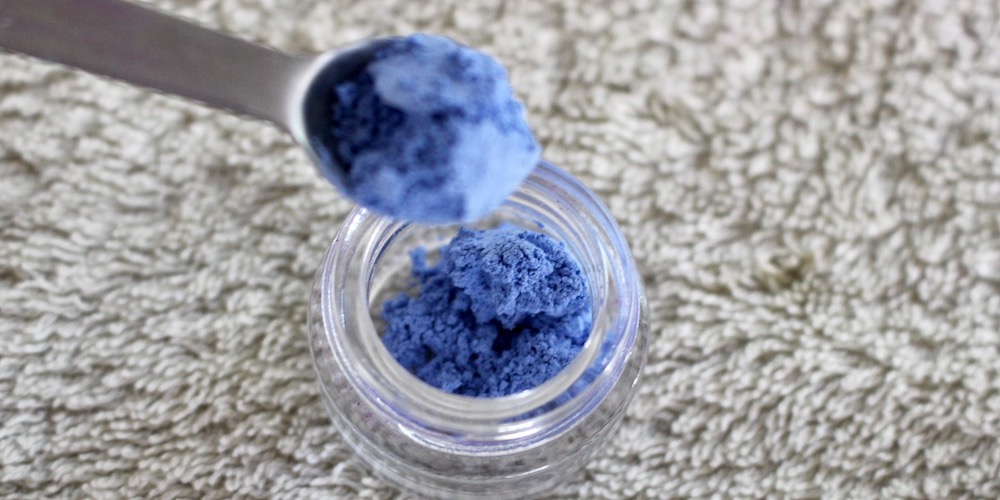
5. Once you're happy with what you've got scoop it out and place it in your eye shadow container.
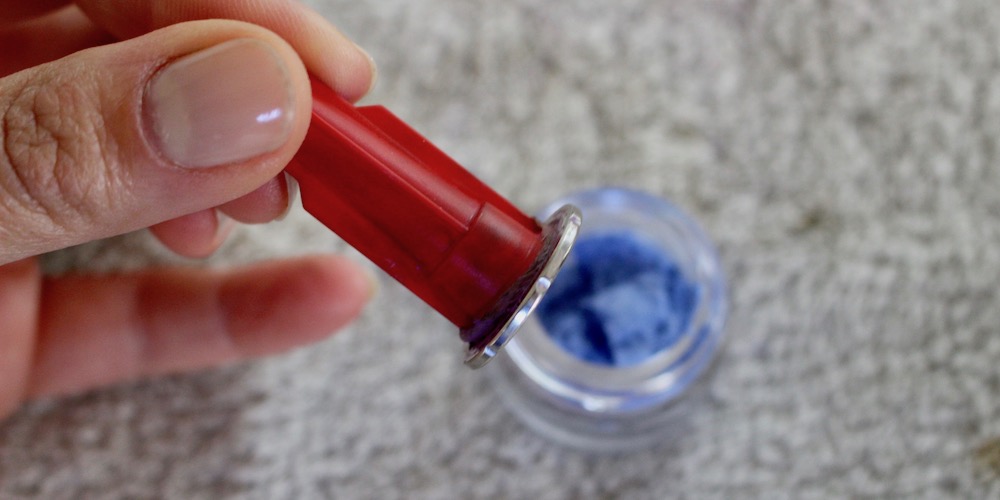
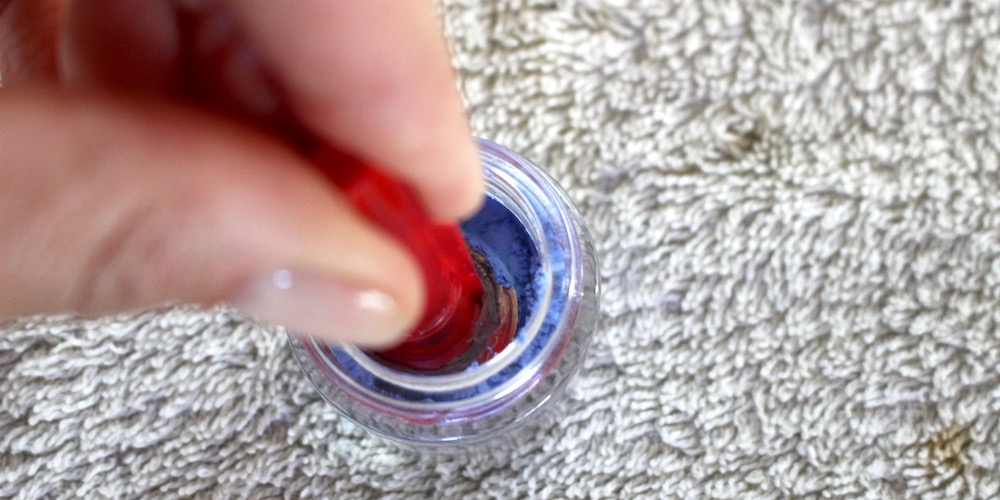
You can use this eye shadow loose or press it if you prefer. You can use a coin and some baking paper to press your powder in tight. My Dad made me this nifty little device which is a 20c coin superglued to an old pen cap! It works really well to get right down into the pot. If you're pressing your powder do it in stages, add some powder, press, add more, press again, etc, until you've used all your powder. Mica's won't press like pigments and the base recipe will so if you have a mica heavy mixture you may find it just "puffs" out from underneath and won't agree to being pressed, in which case just use it as a loose powder.
Shade Suggestions
|
Yellow gold
2.5g | eye shadow base 1/4 + 1/32 tsp | titanium dioxide 1/2 + 1/8 tsp | yellow iron oxide 1/2 tsp | gold satin mica 1/2 + 1/16 tsp | gold sparkle mica
|
Violet 2.5g | eye shadow base 3/16 tsp | ultramarine blue 3/16 tsp | red rouge |
Forget-me-not 2.5g | eye shadow base 3/8 tsp | ultramarine blue 1/16 + 3/8 tsp | titanium dioxide 1/64 tsp | chromium green oxide |
| Brown 2.5g | eye shadow base 1/4 + 1/16 | brown iron oxide 1/8 tsp | red iron oxide 1/16 | yellow iron oxide |
Silver 2.5g | eye shadow base 1/4 tsp | titanium dioxide 1/64 tsp | black pigment 1/2 tsp | silver satin mica |
Candyfloss
2.5g | eye shadow base 1/16 tsp | titanium dioxide 3/64 tsp | red rouge 1/16 tsp | princess peach mica 1/32 tsp | red mica
|
| Fuchsia 2.5g | eye shadow base 3/4 + 1/16 tsp | red rouge |
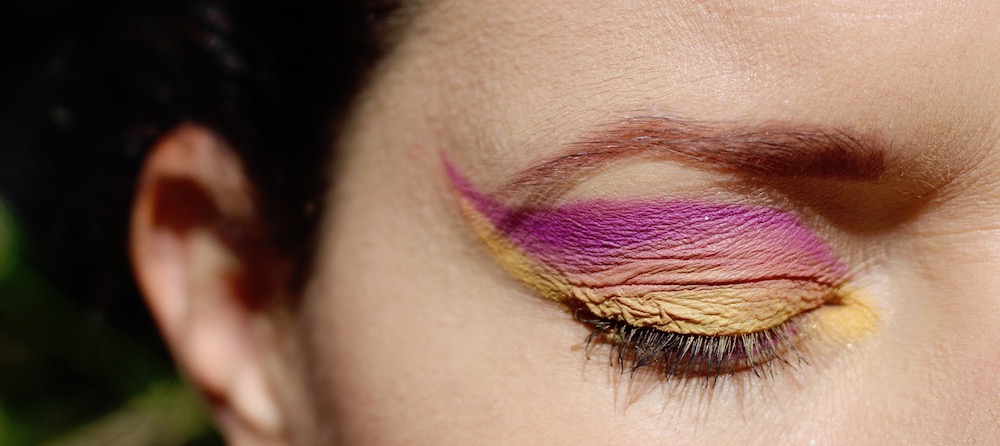
Yellow gold and Violet
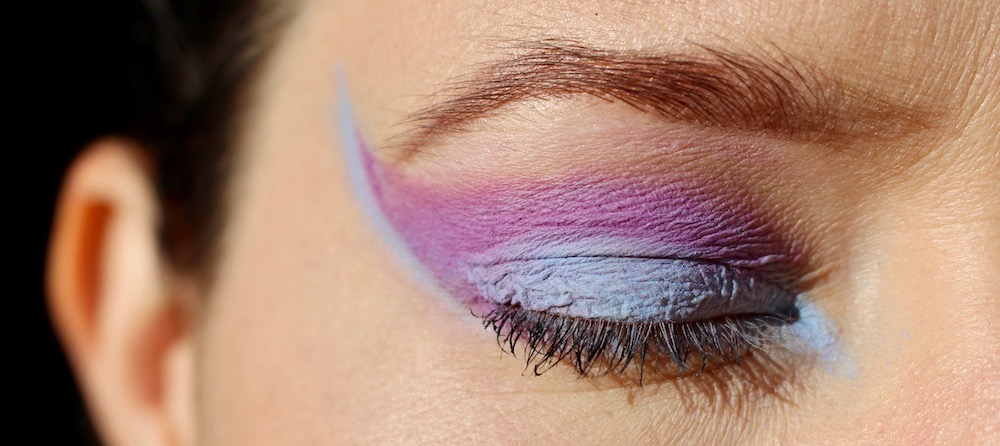
Forget-me-not and Violet
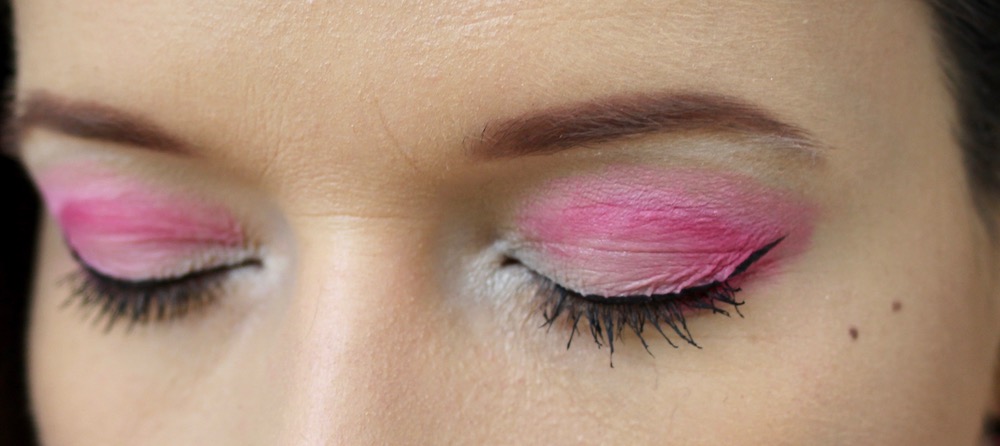
Silver (under eyebrows and tearducts), Candyfloss and Fuchsia. Eyebrows with Brown.
Check out our other makeup recipes
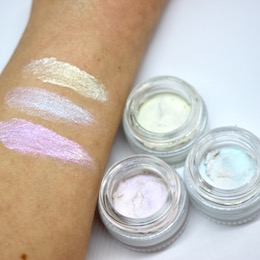 Luminescence highlighter |
 Lipstick |
 Mineral foundation |
 Cream foundation |
Follow us on Facebook and Instagram for regular news and recipes and subscribe you our YouTube channel for video more tutorials!
