
Lipstick
Ever wanted to make your own lipstick? It's easier than you think! We're going to be using our Go Native Lipstick Kit

Make Your Own Lipstick at Home
Go Native Lipstick Kit
When you purchase the lipstick kit, you have the choice of:
5 x 5ml clear glass pots (you will need a lip brush to apply)
5 x 5gm lip balm tubes
5 x 5gm kraft tubes
And a choice to add mini measuring spoons If it's your first pack you're going to want the spoons as they are how you measure your pigments.
Let's play!
How To Do Video - Make Your Own Lipstick at Home

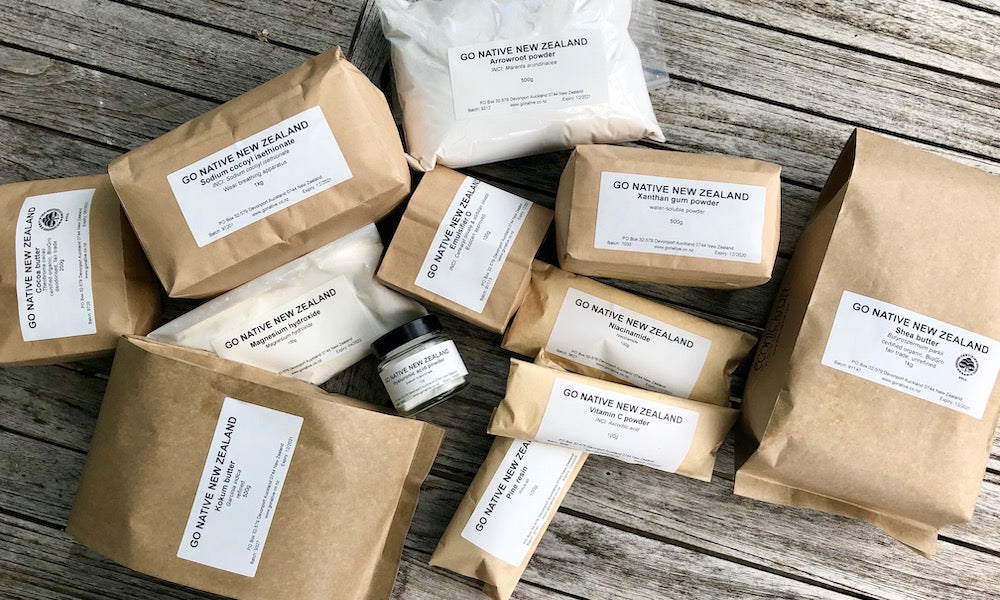
Equipment
If you have the book and are working from the recipe from scratch we have sourced all the equipment that you will find incredibly useful.

Adding pigment
Weigh out 6g of your base into your beaker or dish. It's good to use 6g even if you're filling a 5g container to make allowances for mixture getting lost around the sides of your dish, better to have a touch too much than too little. It won't look like much, I'm making 12g here so will look like half as much as the far left picture.

Blending in the pigment

This is where the mini spatula is really useful, for running around the edges and gathering mixture that's stuck to the sides and popping it back in to soften. Just keep smooshing! You'll see the consistency change and when you're convinced it's all mixed in you're ready to pour.

Pouring

You made lipstick!!
DIY Lipstick Shade Suggestions
When formulating your own shades the rule of thumb is 7 x PINCHES (1/16 tsp) of pigment per 6g of base, not including micas (the pigments that do the grunt work when it comes to colouring). Feel free to experiment with less or more.
And have fun!
 Sasha Deep red 3 x DASH red rouge 1 x PINCH red iron oxide 1 x DROP brown iron oxide |
 Manila Orangey coral 1 x PINCH titanium dioxide 1 x PINCH red iron oxide 1 x PINCH + 1 x SMIDGEN yellow iron oxide 1 x SMIDGEN rouge red 1 x PINCH princess peach mica (optional) |
 Farrah Bright pink 1 x PINCH + 1 x DROP rouge red 1/2 tsp + 1 x PINCH titanium dioxide 1 x PINCH princess peach mica |
 Naomi Deep plum 1 x DASH + 1 x SMIDGEN rouge red 1 x PINCH red iron oxide 1 x PINCH brown iron oxide 1 x PINCH titanium dioxide 1 x SMIDGEN + 1 x DROP *ultramarine blue |
 Bob Dark brown with bronze shimmer 3 x PINCH brown iron oxide 1 x DASH yellow iron oxide 1 x PINCH + 1 x SMIDGEN red iron oxide 1 x DASH bronze satin mica |
*Ultramarines are not approved for use in lipsticks in the USA but they are approved for use in all cosmetics without restriction in Europe. Because of the approval given by the European Union we've included it but it is only required for the shade 'Naomi' so you can easily choose not to use it.


Leave a comment