
How to Make Your Own Lotion Bars: Recipes, Tips & Tricks
Making lotion bars at home is easier than you might think, and it’s a fun way to create nourishing, custom skincare that’s perfect for on-the-go moisture. Lotion bars are solid bars that melt into your skin as you apply them, offering a convenient, mess-free way to keep skin hydrated and soft. They’re ideal for busy days, travel, or even just as a quick alternative to traditional lotion. Plus, when you make them yourself, you have total control over the ingredients, allowing you to avoid unnecessary fillers and add only what your skin needs most.
In this guide, we’ll walk you through the basics of lotion bar-making, plus some tips and tricks to get the texture and consistency just right. From understanding the key ingredients to experimenting with scents and textures, you’ll be crafting lotion bars like a pro in no time. So, gather your ingredients and get ready to indulge in a DIY skincare project that will leave your skin feeling amazing!
Essential Ingredients for Lotion Bars
- Beeswax: Provides structure and a smooth, solid consistency.
- Butters: Cocoa or shea butter adds deep hydration and richness.
- Oils: Jojoba or almond oil adds flexibility and helps with easy application.
Tips for Customizing Your Lotion Bars
- Experiment with essential oils for a personalized scent.
- Add Vitamin E for an extra skin-soothing boost.
- Adjust the beeswax-to-oil ratio to achieve your desired firmness.
Lotion bars are wonderfully simple to make and perfect for travel or camping. Paired with solid shampoo and conditioner bars, they’re a great liquid-free alternative that saves you from worrying about spills in your luggage.
Depending on your climate and the season, you may want to adjust the ingredient ratios. In warmer areas, the bars may soften more easily, so adding extra wax can help them hold their shape. For cooler climates, where the bars can become firmer, try reducing the wax and adding more soft butter or liquid oils for a creamier, easy-to-apply texture.
Wax
I've made this bar with candelilla wax to make it vegan, you could also use beeswax or another vegan wax like sunflower or rice bran. Each wax can produce a slightly different final product so just be aware you may have to do some adjusting.
Butter
You can use refined or unrefined shea butter, or swap it out for another soft butter such as mango. The consistency of the butter will change the consistency of the final bar. I used shea butter because it's softest and I am using quite a high ratio of wax.
Carrier Oil
You can use any liquid carrier oil you want, or a mixture of several, just keep the entire ratio of liquid oil the same.
Scent
I kept this one unscented because I wanted to be able to use it on my face and I personally prefer unscented products for facial use. If you wanted to scent it you could add essential oil or fragrance oil at 0.5% for facial use or 1% for body use. Take that percentage out of the carrier oil/s so that your formula remains at 100% total. Add essential oil once you've taken it off the heat, right before you pour into moulds.
Colour
You can sprinkle in some mica to give you bar a bit of colour. Sprinkle in once melted until you achieve the desired shade.
Recipe
Makes one 120g bar - use our Batch Size Calculator and the percentages provided here to easily adjust the volume of your batch.
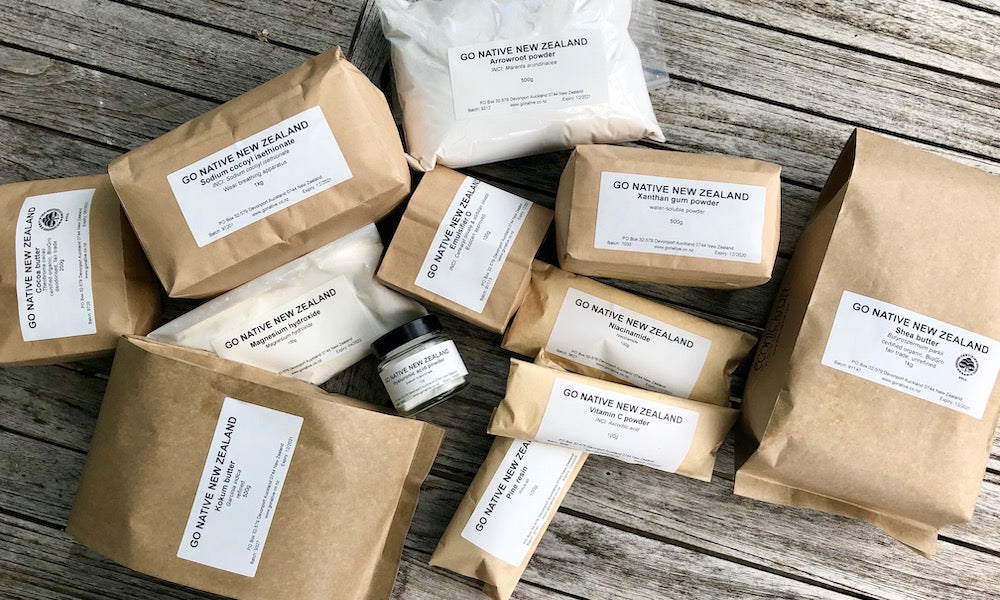
42g | 35% Shea butter, certified organic, unrefined
40.8g | 34% Cherry kernel oil, certified organic
37.2 | 31% Candelilla wax
Method
- Weigh your ingredients
- Gently melt on the stovetop
- Pour into mould/s
- Allow to set
- Pop out of mould
To use
Gently rub on skin, the bar should soften on contact with skin so give it a moment to warm up. Massage in.


Leave a comment